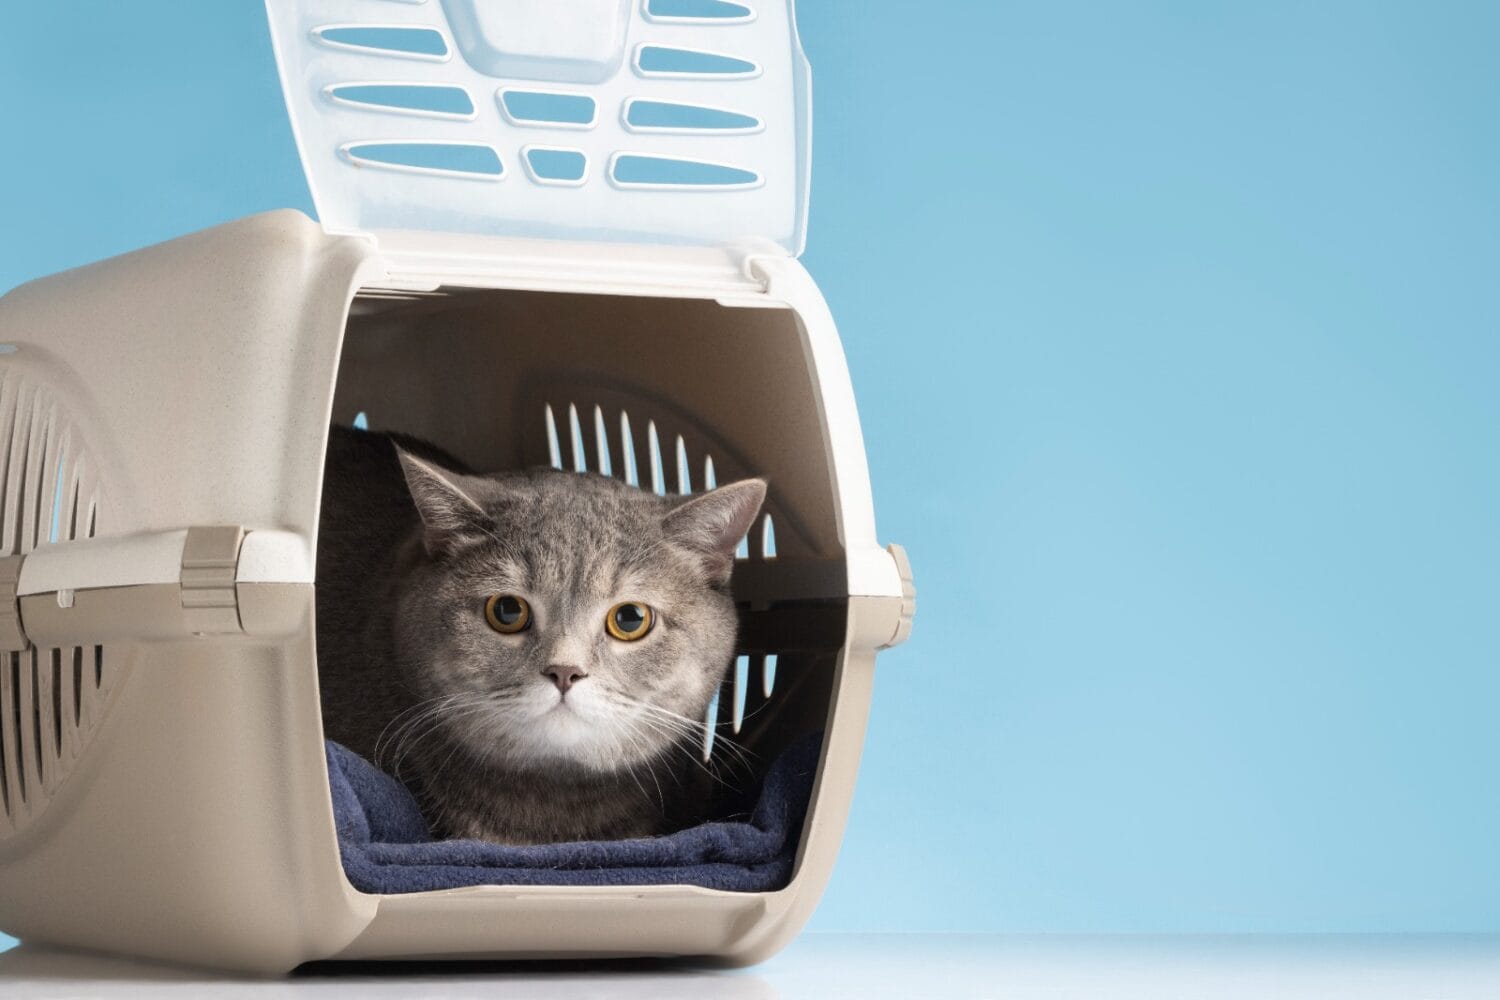
Cat carriers are invaluable tools for pet owners when embarking on trips to the vet, enjoying a day at the park, or relocating their feline friend. However, with this convenience comes the essential responsibility of cleaning and sanitizing the carrier after each use. Whether you’re caring for a pet cat or a stray, it’s crucial to clean and sanitize your cat carrier to ensure the health and comfort of your furry companion.
No matter how well-trained your cat is, accidents can happen. These accidents can lead to unpleasant odors and increase the risk of your beloved pet contracting infections. Additionally, food remains, dust, and debris can harbor bacteria, making it imperative to learn how to sanitize your cat carrier properly.
Steps to Sanitize a Cat Carrier
Sanitizing your cat carrier protects your furry friend from potential health issues and spares you the embarrassment of carrying around a smelly carrier. Regular cleaning helps maintain a pleasant environment for your cat and ensures that your carrier remains in good condition over time.
Here’s a comprehensive step-by-step guide on how to sanitize your cat carrier:
Step 1: Remove and Wash Detachable Items
Begin by removing all detachable accessories from the carrier, including the litter box, bedding, toys, and food trays. Wash and dry these items separately using warm, soapy water.
For bedding that is machine washable, place it in the washing machine and consider air drying it in the sun, as sunlight is a natural disinfectant. Ensure that toys or accessories made from plastic or rubber are also cleaned thoroughly, as they can harbor bacteria.
Step 2: Wipe Out Any Debris
Once all items are removed, the next step is to remove any solid debris inside the carrier. There are two effective methods for this:
- Using a Towel: Take a clean, dry towel to wipe down all sides of the carrier. Focus on the corners, where food particles and hair can accumulate.
- Using a Vacuum: A vacuum cleaner can be a more efficient option, as it can easily pick up small items such as hair, food crumbs, and any leftover waste. This method saves time and effort, especially if your cat has left behind a mess.
If any residue remains stuck to the sides or bottom of the carrier, consider using a brush or scraper to remove it before proceeding with the next step.
Step 3: Wash with Soap and Water
After removing solid particles, wash the carrier with warm, soapy water. It’s advisable to use a mild, pet-safe soap to avoid any irritation. Scotch and Co suggests using warm water as it helps remove stains easily and kills germs.
Apply the soapy water to the entire carrier using a sponge or brush, ensuring that you cover all surfaces, including corners. If there are any stubborn stains or odors from accidents, consider using a scented soap to help mask unpleasant smells.
Step 4: Rinse with Water
Once you’ve thoroughly scrubbed the carrier, rinse it out with fresh water to remove any soap residue. It’s essential to ensure that no soap remains, as it can irritate your cat’s skin and nose.
Step 5: Apply Disinfectant
Applying a disinfectant is a crucial step in sanitizing your cat carrier. This helps eliminate any remaining germs or bacteria. Choose a non-toxic disinfectant suitable for pet environments, and carefully follow the manufacturer’s instructions for use.
Homemade Disinfectant
If you prefer a natural approach, you can create an effective homemade disinfectant. A simple and effective solution is to mix 3/4 cup of bleach with 1 gallon of water. This solution is excellent for killing germs and removing stubborn stains.
When using bleach, apply the diluted solution to the bottom and sides of the carrier, scrubbing gently with a brush. Leave the solution on for about 15 minutes to allow it to work effectively.
Step 6: Rinse and Dry
After the designated time, thoroughly rinse the carrier with fresh water to remove any bleach residue. It’s essential to dry the carrier properly; sun drying is recommended if the material can withstand sunlight. Sunlight not only helps dry the carrier but also acts as a natural disinfectant.
Once dry, carefully reassemble all the cleaned and sanitized detachable items back into the carrier.
Related: How to Clean a Suitcase with Cat Pee?
Cleaning Different Types of Cat Carriers
Cat carriers come in various materials, and while the general process of sanitization remains the same, adjustments may be necessary based on the type of carrier: A Pet with Paws suggests the following changes in the process of cleaning different types of carriers:
Hard Carriers
For hard-sided carriers, follow the aforementioned steps. Start by wiping off any dirt, wash with warm soapy water, disinfect with diluted bleach, and allow it to dry in the sun.
Soft-Sided Carriers
Soft-sided carriers require a gentler approach. Use lukewarm water and a mild soap to clean all surfaces. After scrubbing, rinse thoroughly and allow it to air dry. Avoid using harsh chemicals that could damage the fabric.
Fabric Carriers
Fabric carriers should be treated delicately. Depending on the type and care instructions, you can hand wash or machine wash them with a mild detergent. After washing, disinfect, rinse, and let them dry completely before use.
Handy Tips for Effective Sanitization
- Wear Gloves: Always wear gloves during the cleaning process to minimize contact with germs.
- Avoid Ammonia: Avoid ammonia-based cleaners, as the strong odor can attract cats and may encourage them to mark the area.
- Essential Oils: Be cautious with essential oils, as they can leave residues that may be toxic to cats.
- Mix Bleach Properly: Always add bleach to water, not the other way around, to ensure safety.
- Thorough Rinsing: Make sure to rinse out any bleach solution completely to avoid any harmful residues.
Conclusion
Knowing how to properly sanitize a cat carrier is essential for cat owners. It protects your cat from potential infections and helps you avoid the embarrassment of carrying a smelly carrier. Different types of carriers require various cleaning methods, but the basic principles remain the same. Start by removing detachable items, wiping surfaces, washing with soap and water, and disinfecting. After rinsing, ensure that your carrier is thoroughly dried before reusing it.
Using pet-friendly products is crucial to maintaining a safe environment for your furry friend. By following these steps, you can keep your cat carrier clean, safe, and ready for your next adventure together!
References